


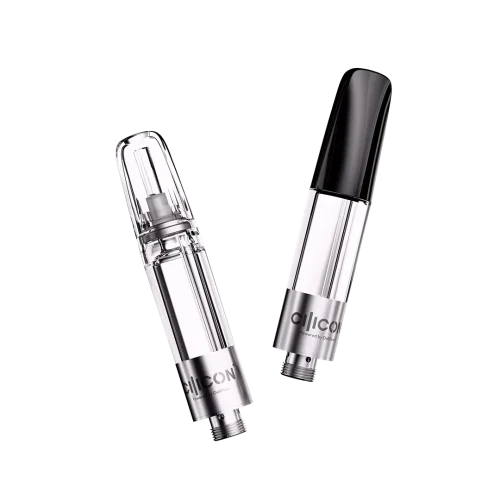
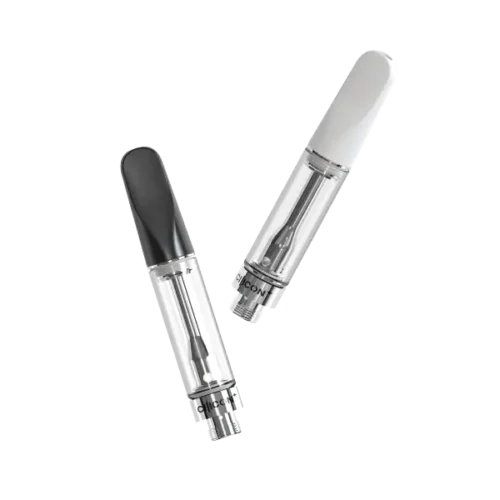
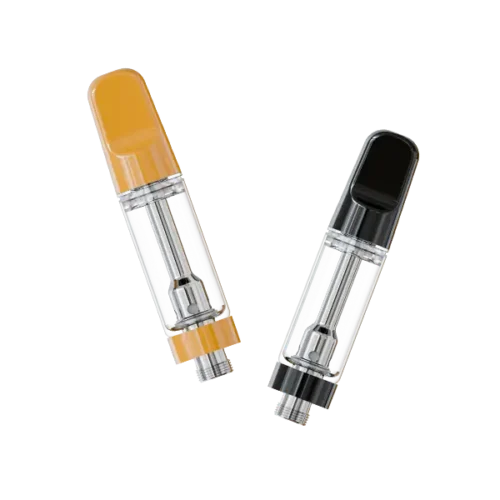
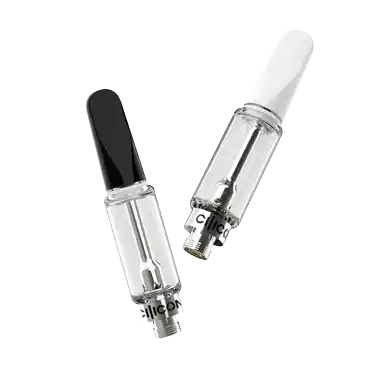


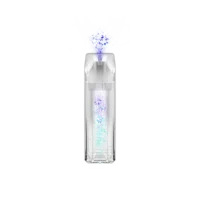

All in One Guide: How to Clean Vape Pen, Mouthpiece, Cart, and Battery

How to Clean Your Vape Pen
Maintaining your vape pen involves more than just refilling e-liquid. Regular cleaning of its various components, such as the mouthpiece, cartridge, threading, coils, and body, is essential. Neglecting these parts can affect the flavor and performance of your vape, and in severe cases, may even prevent it from functioning. Below, we outline the materials you need and the steps to follow for effective cleaning.
1. Prepare the Materials You’ll Need
- Isopropyl Alcohol (90% or higher): Ideal for dissolving residues.
- Cotton Swabs/Q-tips: Perfect for cleaning small or delicate areas.
- Paper Towels or Microfiber Cloth: Useful for wiping down components.
- Small Brush or Toothbrush: Helps scrub away stubborn residues.
2. Disassemble Your Vape Pen
- Ensure the device is turned off.
- Gently disassemble the pen, separating the mouthpiece, tank, and battery. Familiarize yourself with the reassembly process for later.
3. Mouthpiece Cleaning
- Dip a cotton swab in isopropyl alcohol and thoroughly clean both the inside and outside of the mouthpiece.
- Afterwards, wipe it with a paper towel or cloth.
4. Tank Maintenance
- Dispose of any leftover e-liquid.
- If your tank is water-safe, rinse it with warm water and allow it to dry completely.
- For thorough cleaning, use a cotton swab soaked in isopropyl alcohol to eliminate any residue.
5. Battery and Contact Care
- Clean the battery with a dry cotton swab or cloth. Avoid using liquids to prevent damage.
- Also, clean the contacts where the battery connects to the tank.
6. Cleaning Other Components
- Gently brush any threaded areas or connections with a small brush or toothbrush.
- If your vape pen has a cleanable coil, brush it gently. Remember, some coils are disposable and should be replaced, not cleaned.
7. Reassemble and Store Safely
- After ensuring all parts are clean and dry, reassemble your vape pen.
- Store it in a clean, dry environment for optimal upkeep.
How to Clean Vape Pens?
A vape pen is made up of a few different parts that could use a little TLC. While you shouldn’t clean the internal components, you should pay special attention to the mouthpiece, cartridge, threading, coils, and body. Neglecting any of these parts can really hinder the flavor and performance of your vape or, in extreme situations, prevent it from working altogether. To clean your vape pens, you just need to gather your materials, which we’ve outlined below.
Materials Needed for Cleaning a Vape Pen
Vape pens can have a lot of awkward little nooks and crannies that you need to get into, so use this shopping list to get started.
Isopropyl Alcohol
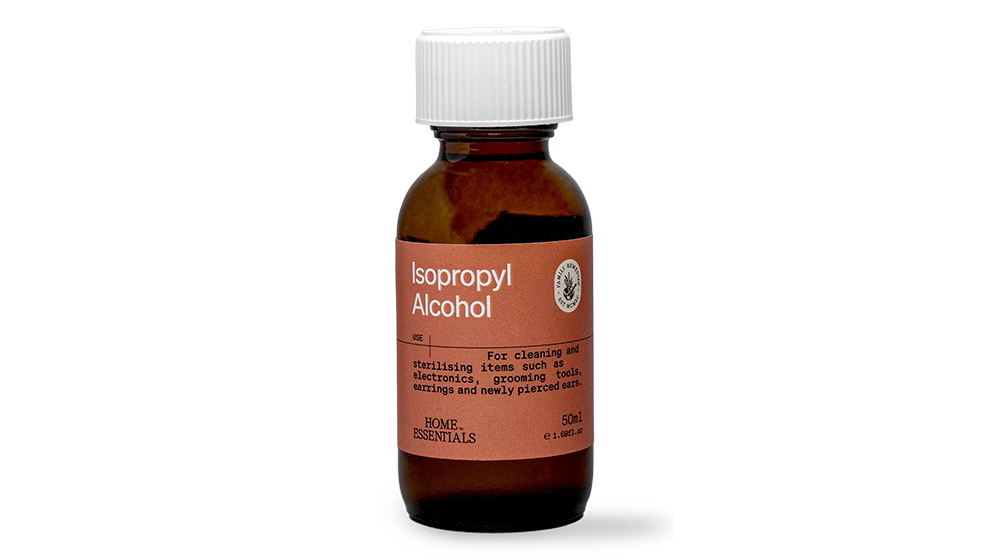
Like all things weed, there’s a lot of gummy buildup in your vape pen if you’ve been using it for a while. Isopropyl alcohol is a powerful solvent that breaks down and removes stubborn residue, oils, and contaminants from your vape pen parts. It evaporates quickly, leaving no residue behind. You’ll want to aim for 70% or higher for the best results. Use it with your cotton swabs, paper towels, and microfiber cloths to gently scrub sticky surfaces. However, you should always remember that you never want to soak any of the electronic parts in alcohol since it’ll damage them.
Cotton Swabs
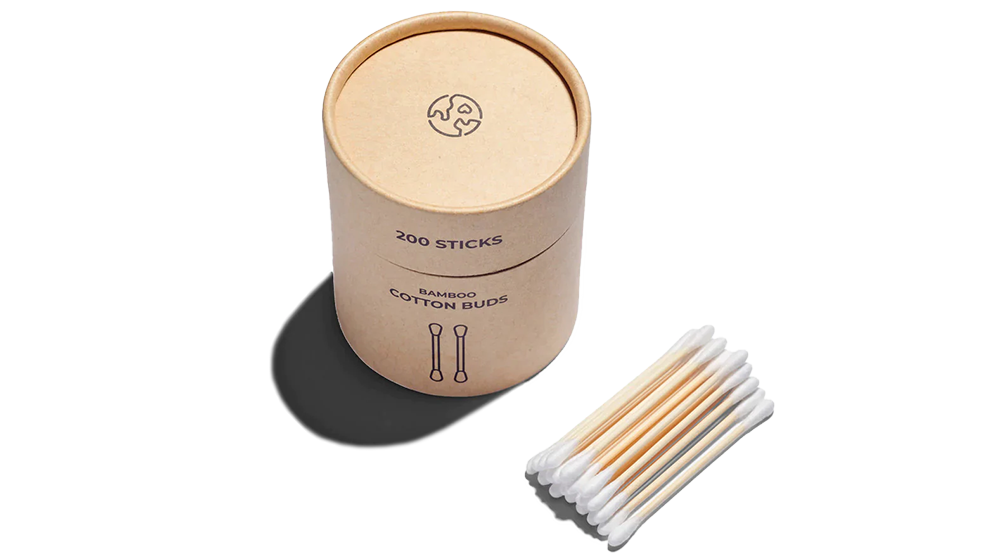
Cotton swabs are one of the tools you’ll use to get the isopropyl into hard-to-reach places. They help scrub away residue and buildup without causing damage to delicate components. To use them, you’ll dip them in some iso and gently scrub those tight places, like the ones you’ll find around the coil, in the threads, or inside the mouthpiece.
Paper Towels or Microfiber Cloth
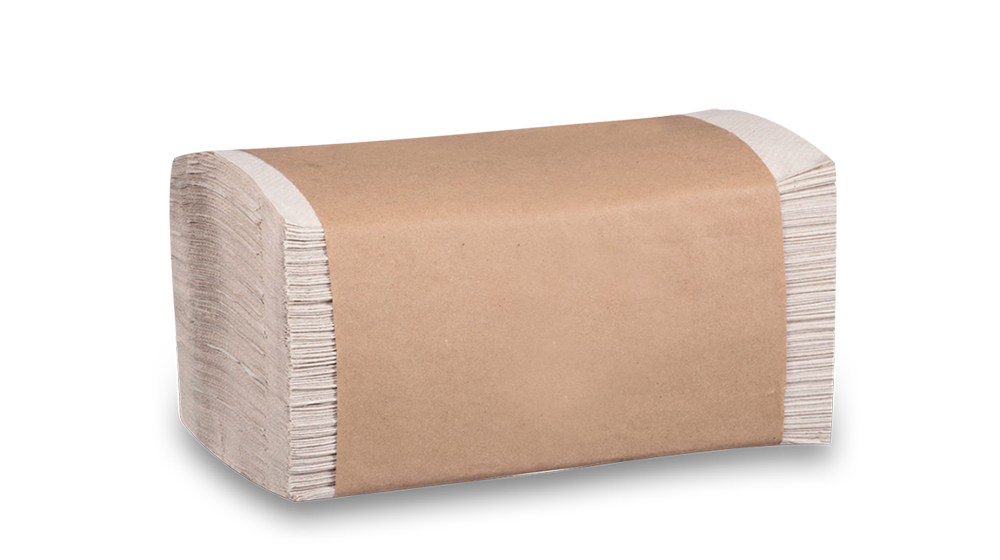
Paper towels or microfiber cloths are used to wipe down the exterior surfaces of your vape pen to help remove dirt, grime, and fingerprints. To use them, you’ll just moisten a small section of the cloth with water or isopropyl alcohol and gently wipe down the exterior of the vape pen, taking care to avoid getting any inside the pen itself.
Small Brush or Toothbrush
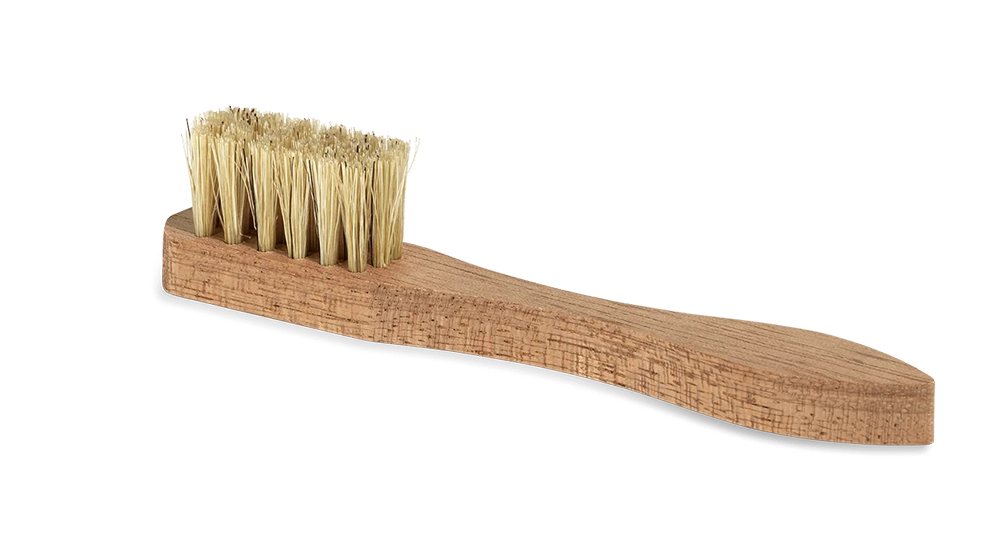
A soft-bristle brush or toothbrush is excellent for scrubbing debris away from your coils and tanks. Use it by gently brushing the coils and tank to remove any loose particles.
Warm Water
Warm water is used for rinsing away any leftover isopropyl alcohol from the mouthpiece, coils, threads, or tanks. You can rinse some components under warm water, though you want to avoid getting anything wet that can damage your cartridge or the battery.
How to Clean Vape Pen Mouthpiece?
Your mouthpiece will get the most gunked up since it’s usually pretty exposed to the things in your pocket or bag and (of course) your mouth. You might notice crumbs or weird objects inside after using your pen for a while. Alternatively, if your pen leaked at any point, you might be dealing with a sticky mess.
Even if it isn’t nightmare-level dirty, keeping it clean is important if you want your pen to stay hygienic, smooth, and flavorful. Here’s a step-by-step guide on how to clean vape pen mouthpieces effectively:
You will need:
- Isopropyl alcohol
- Cotton swabs
- Warm water
- Paper towels or microfiber cloth
Step 1: Disassembly
Carefully detach the mouthpiece from the vape pen. Depending on the design of your device, the mouthpiece might twist off or pull out. If your mouthpiece is attached to your cartridge or tank, skip steps 2 and 4.
Step 2: Initial Rinse
Hold the removable mouthpiece under warm running water to loosen up any debris. If your mouthpiece is attached to a vape cartridge, skip this step.
Step 3: Clean With Iso
Dip a cotton swab into isopropyl alcohol, taking care not to oversaturate it. A little goes a long way! From there, gently scrub the interior and exterior of the mouthpiece. The isopropyl alcohol will dissolve oils, residues, and other contaminants, leaving the mouthpiece clean.
Step 4: Final Rinse
After scrubbing with isopropyl alcohol, rinse the mouthpiece thoroughly under warm water to remove any remaining alcohol and dissolved residue. Again, skip this step if your mouthpiece is attached to a cartridge. You don’t want any water mixed into your cartridge.
Step 5: Dry and Reassemble
Shake off any excess water from the mouthpiece and pat dry using a paper towel or microfiber cloth. Ensure the mouthpiece is completely dry before reattaching it to the vape pen. Make sure it’s securely fastened to prevent any leaks in your next sesh.
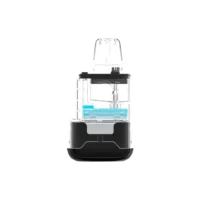
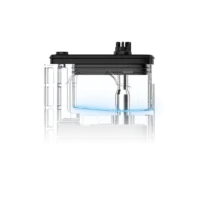
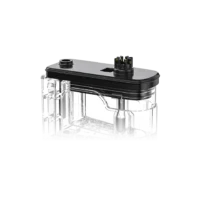
How to Clean the Vape Tank?
The vape tank, or cartridge, holds your cannabis concentrate. Depending on the type of vape pen you’re using, you might only be able to clean it on the surface. For example, disposable vape pens don’t have a detachable cartridge. On the other hand, some pens have cartridges that attach magnetically or screw into the device that you can disassemble and clean before reuse. On nicer vapes, you might see a refillable sub-ohm tank. No matter what you have, follow the guide below or watch this video to learn how to clean your vape tank:
You will need:
- Isopropyl alcohol (70% or higher)
- Warm water
- Cotton swabs
- Small brush or toothbrush
- Paper towels or microfiber cloth
Step 1: Remove the Cart
Carefully detach the vape tank from the rest of your vape pen. Depending on your vape pen, you might need to unscrew it or pull it out. If you can’t remove the cart, you can only clean it on the surface.
Step 2: Clean the Surface
Wipe down the tank’s exterior using a paper towel or a microfiber cloth and a little bit of iso.
Step 3: Clean the Threads
If your cartridge screws into the vape pen, use a cotton swab and some iso to gently rub away any residue in the threads. You should also clean the connector so that your pen can supply power to the cartridge and atomizer to ensure it’s constantly firing properly. If your cart isn’t reusable, you’re done after these steps. Just let your cartridge fully dry before reattaching it to your vape pen.
Step 4: Empty the Tank (optional)
If you’re using a refillable vape cartridge, carefully remove any remaining extracts and pour them into a proper container.
Step 5: Rinse and Soak (optional)
Hold your refillable, empty vape tank under warm water to rinse out any leftover residue. Then soak the entire cartridge minus the coil, wick, and atomizer in isopropyl alcohol.
Step 6: Scrub Gently and Rinse (optional)
For stubborn messes inside a refillable tank, use a soft bristle toothbrush to remove any remaining residue from the inside of the tank. Give it a final rinse under warm water
Step 7: Dry and Reassemble (optional)
Shake off excess water and pat the components dry with a clean paper towel or microfiber cloth. When everything is dry, you can add fresh concentrates to your refillable cartridge and reassemble it.
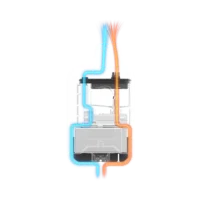
How to Clean Vape Coils?
Vape coils are responsible for heating the cannabis extract to create vapor. They can be tricky to clean since they’re hard to get to. You don’t need to worry about your coils if you’re using disposable cartridges or disposable vape pens. However, if you’re using a nicer vape pen, you’ll need to clean or swap the coils regularly. Vape coils are either replaceable or rebuildable. Replaceable coils already have the wick installed, while rebuildable coils require reinstalling the wick and the coil. Below we’re breaking down how to clean both types, but if you’re more of a visual learner, the following video will walk you through the process.
For Replaceable Coils
You will need:
- Isopropyl alcohol
- Warm water
Remember, these coils are designed for replacement. While cleaning them can give you a few extra days out of them, they’re a lot easier just to swap out. If you don’t really want the hassle, get a fresh set.
Step 1: Disassemble your Vape
Start by removing the tank from your vape pen and separating the coil and wick from the cartridge.
Step 2: Soak in Iso and Rinse
Submerge the coil in ethanol, water and vinegar, or cheap alcohol for several hours, then rinse it under warm water. If you notice some gunk leftover in the threads, wipe it out with an alcohol-dampened cotton swab.
Step 3: Dry and Reassemble
Blow air into the coil’s open side to push water out from the wicking holes, and allow the coil to air-dry until any leftover water evaporates. This can be a super time-consuming process, but be patient. Ensuring the coil is dry will make sure it functions correctly when you reassemble the device.
For Rebuildable Coils
You will need:
- A lighter or torch
- Warm water
- Soft bristle toothbrush
- Isopropyl alcohol
Rebuildable coils mean regular maintenance. That being said, if you keep up with it, a light cleaning is all you need. Just remove the wicks, and burn off any remaining gunk by activating the coil with your battery. When they’re cool, re-wick your coil, and you’re good to go. However, if you’re dealing with severe buildup, follow these steps.
Step 1: Remove the Wick
Carefully remove the wick from your vape pen.
Step 2: Dry Burn the Coils
Press the button on your vape pen to apply heat over the coils to melt away or vaporize leftover oils. Take care not to let it get red hot.
Step 4: Rinse With Warm Water
While the coils are warm, rinse them under warm water to help loosen up any leftover oils.
Step 5: Scrub Residue
Using a soft bristle brush and some isopropyl alcohol, scrub away any remaining residue.
Step 6: Final Rinse
When your coils look clean, rinse them under warm water again.
Step 7: Final Dry Burn
Hit your coil with one final dry burn to get any remaining water droplets off of your coil.
Step 8: Dry and Reassemble
When everything is dry, reattach the wick and reassemble the cartridge and vape pen.
How to Clean Vape Battery Safely?
Battery is kind of a tricky term. For most people, cleaning the battery involves cleaning the device’s body since most vape pens are designed to prevent you from getting inside and cleaning the actual battery itself. That said, never try to take apart a vape pen with this design. Batteries don’t come in contact with oils or residue, so they don’t need to be cleaned. Cleaning the body, on the other hand, is easy.
You will need:
- Cotton swabs
- Isopropyl alcohol
- Paper towel or microfiber cloth
Step 1: Disassemble your Pen
Power your device down and remove the cartridge from your vape pen. The body in your hand is the battery. Do not attempt to remove the battery inside the body.
Step 2: Wipe the Body
Lightly moisten a paper towel with isopropyl alcohol or water, and gently wipe down the exterior of the battery, including the power button.
Step 3: Clean the connector
Using a lightly moistened cotton swab, clean the battery’s connector. The connector is the area where the battery attaches to the cartridge or heating chamber. This connection point is vital for optimal performance, so you want to clean it regularly if you want to maintain a solid, unobstructed link.
Step 4: Dry Completely
Don’t rinse your battery with water. Instead, gently wipe away any excess moisture with a clean paper towel or cloth. Allow it to air dry completely before reassembling it.
Troubleshooting Guide
Troubleshooting Guide
A lot of the time, cleaning your vape is all it takes to get your pen’s performance back. If you’re still having issues, here’s a troubleshooting guide to help you:
Weak or No Vapor Production:
- Check if the battery is charged or replace it if needed.
- Examine the coil for buildup or damage; clean or replace it if necessary.
- Ensure the cartridge or tank is properly connected to the battery.
Leakage or Spillage:
- Make sure all components are tightly assembled.
- Verify that the tank or cartridge is not overfilled.
- Check for cracks or damage in the tank or cartridge that might cause leaks.
Burnt Taste or Harsh Hits:
- Check if the coil is burnt or gunked up; consider replacing it.
- Adjust the wattage or temperature settings to avoid overheating.
- Ensure your cannabis extract is compatible with your device’s settings.
Device Not Powering On:
- Confirm that the battery is charged and properly connected.
- Clean the battery contacts if they appear dirty or corroded.
- Check for any damage to the battery or device itself.
Inconsistent Flavor:
- Clean the mouthpiece and tank to remove residue.
- Use the recommended wattage or temperature settings for your cannabis extract.
- Replace the coil if it’s old or gunked up.
Cartridge Not Firing:
- Ensure the cartridge is fully inserted and securely connected to the battery.
- Check the battery’s connection pins for dirt or damage.
- Try a different cartridge to rule out a faulty one.
Battery Drains Quickly:
- Adjust your device’s settings to a lower wattage or temperature.
- Check for any background apps running on the battery that might drain power.
Charging Issues:
- Use the original charger or a reputable replacement.
- Clean the charging port on both the battery and charger.
- If possible, try charging the battery with a different cable or charger.
How Often Should You Clean Your Vape Pen?
There’s no one-size-fits-all approach to maintenance. A good rule of thumb is to take your vape apart once a week and give it a nice thorough cleaning. However, if you’re using yours daily, you might have to clean it more often. Alternatively, if you’re not using your vape pen very often, you might get away with cleaning it less often.
Final Thoughts
A clean vape pen makes for better flavors and performance. Aim to clean your vape at least once a week for the best results. By following the steps outlined in this ultimate guide, you’ll not only enjoy the best possible flavors from your favorite concentrates but also extend the life of your device. So without further ado, go clean your vape! Cleanliness is next to godliness, after all.

Written by:
Nicole Flanigan
Nicole Flanigan lives and breathes weed. While her background is rooted in marketing, she’s spent the last eight years working in every part of the cannabis industry, from grows and dispensaries to concentrate companies and vape stores. She spends most of her time exploring and dissecting all things cannabis, but her free time usually involves hitting the Puffco, hiking with her dog, and tending to her moths and butterflies.
